WEST SYSTEM® Epoxy has been used to reliably build and repair boats for over thirty-five years but its practical uses aren’t limited to boats or the marine industry. Last month’s blog on ‘make do and mend with epoxy’ got us thinking about all of the wonderful things you can use epoxy for around the house. So this month, we’ve created the first of a two-part series where we will be showing you tips and tricks for using epoxy around the house based on our own home repair projects and suggestions from epoxy users like yourself.
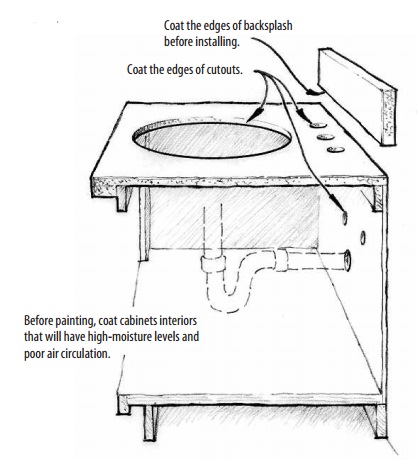
1. Sealing around sinks and countertops

As well as sealing the surfaces of high moisture areas such as dishwasher compartments, you can also use epoxy to seal the edges of sink and plumbing cut-outs in particle boards or plywood counter tops.
Any water that has leaked from beneath drop-in sinks, as well as leaks or condensation from water lines or fixtures, can penetrate, swell and rot the plywood under the laminate.
When you are repairing damage around sinks and plumbing, make sure you turn off the water source before starting. You also need to remove the sink or fixture and thoroughly dry the area and remove any rotten material before coating with epoxy.

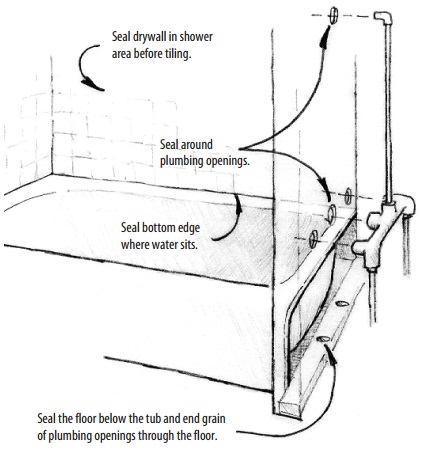
2. Sealing plaster and drywall in the bathroom
Epoxy can also be used to protect drywall or plaster in high-moisture areas such as the shower. Begin by coating the drywall with WEST SYSTEM epoxy before painting or tiling over it – if the walls are painted make sure you sand the painted surface thoroughly before applying the epoxy. Coat the edges and the underside of plumbing cut-outs to prevent leaks or condensation from wicking into the drywall. Again, it is important to make sure that when you are repairing damage around the plumbing you turn off the water source and ensure the area is properly dry before applying any epoxy.
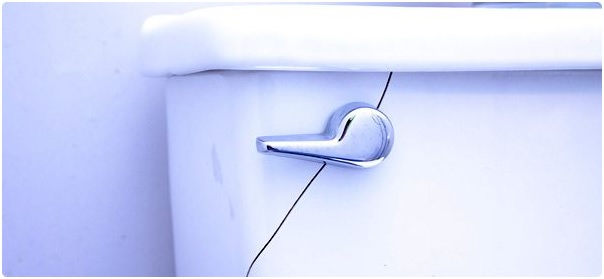
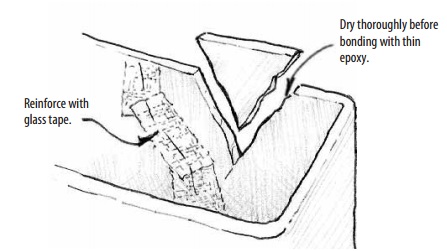
3. Repairing cracked toilet cisterns

Epoxy will bond to the porous side of ceramic materials like toilet tanks. As with the repairs above, when you are repairing a cracked or broken tank, first dry the tank thoroughly. Broken pieces should fit tightly so the epoxy will not need to be thickened. Coat the broken edges and fit the pieces together – a small bead of epoxy should squeeze from the joint. Allow the epoxy to cure and clean the bead of epoxy from the exposed outside with a single-edged razor blade. On the inside, apply a layer of fibreglass tape over the joint for reinforcement. Allow the epoxy to cure thoroughly before refilling the tank. If any small chips are missing, fill the void with thick epoxy/adhesive filler. A good way to make the repair more discreet is to add white pigment to the mixture on exposed sides.